Recording guitar on Ableton Live opens up a world of possibilities for musicians and producers. Whether you’re a seasoned guitarist looking to capture your riffs or a producer seeking to incorporate live guitar into your tracks, Ableton provides a versatile platform to make your musical ideas come to life. In this comprehensive guide, we’ll walk you through the steps, techniques, and tips to record guitar on Ableton effectively. Are you using FL-Studio and not Ableton? Read our guide on FL-Studio instead!
Table of Contents
- Introduction to Recording Guitar on Ableton
- Setting Up Your Guitar and Audio Interface
- 2.1 Choosing the Right Guitar
- 2.2 Selecting the Ideal Audio Interface
- 2.3 Connecting Your Guitar and Audio Interface
- Configuring Ableton for Guitar Recording
- 3.1 Setting Up Audio Preferences
- 3.2 Creating a New Audio Track
- Choosing Amps and Effects
- 4.1 Amp Simulators and Plugins
- 4.2 Adding Effects and Pedals
- Recording Your Guitar
- 5.1 Adjusting Input Levels
- 5.2 Using Monitoring Options
- 5.3 Recording Multiple Takes
- Editing and Enhancing Your Guitar Tracks
- 6.1 Trimming and Cutting
- 6.2 Applying Equalization (EQ)
- 6.3 Adding Reverb and Delay
- Layering Guitars for Depth
- 7.1 Creating Harmonies
- 7.2 Doubling for Richness
- Mixing Your Guitar Tracks
- 8.1 Balancing Levels
- 8.2 Panning and Stereo Imaging
- 8.3 Using Automation for Expression
- Exporting Your Guitar Tracks
- 9.1 Choosing File Formats
- 9.2 Setting Export Options
- Common Guitar Recording Issues and Solutions
- 10.1 Dealing with Latency
- 10.2 Eliminating Background Noise
- Tips for Guitar Recording in Ableton
- 11.1 Experimenting with Amps and Effects
- 11.2 Recording Techniques for Different Genres
- Collaborating with Other Musicians
- 12.1 Sharing Ableton Projects
- 12.2 Incorporating Live Guitar in Band Settings
- Conclusion
Introduction to Recording Guitar on Ableton
Recording guitar on Ableton Live is a creative journey that allows you to capture the essence of your playing. Whether you’re a guitarist, songwriter, or producer, the ability to record live guitar opens doors to endless musical possibilities. In this guide, we’ll explore the step-by-step process of recording, editing, and mixing your guitar tracks within the Ableton environment.
Setting Up Your Guitar and Audio Interface
Choosing the Right Guitar
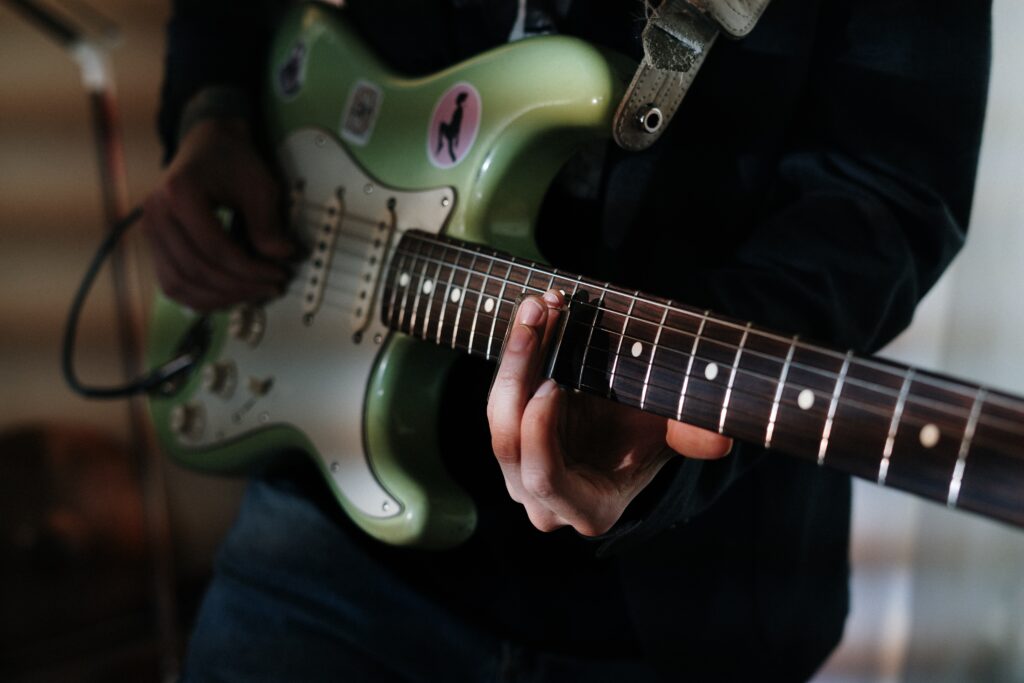
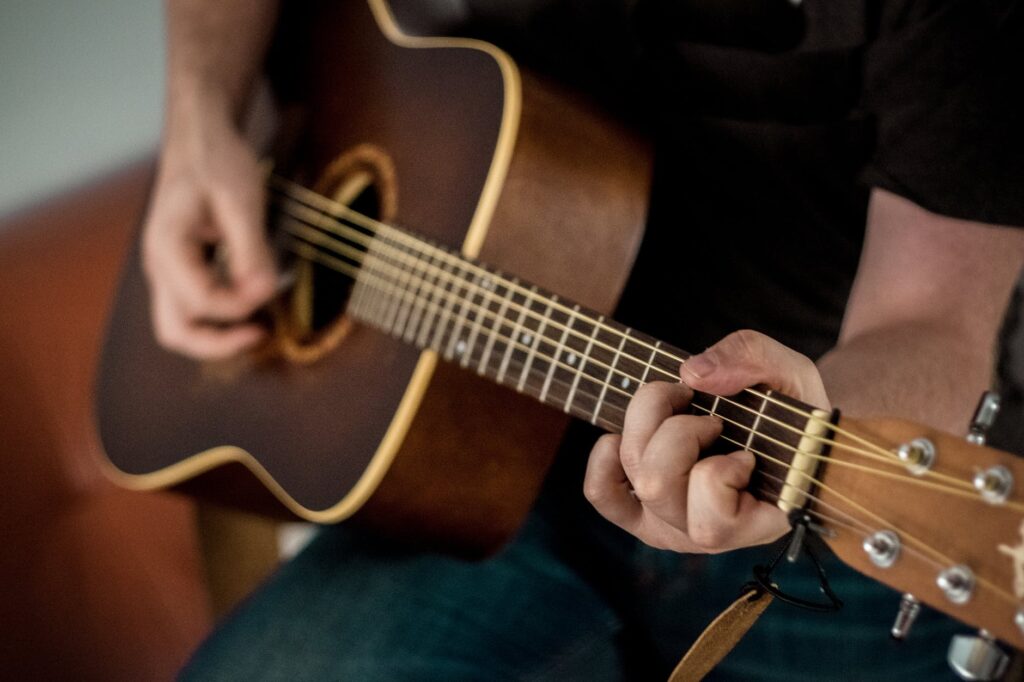
Before you dive into recording, ensure you have the right guitar for the sound you want to achieve. Electric guitars offer versatility for various genres, while acoustic guitars provide a warm, organic tone. Make sure your guitar is in good condition with fresh strings.
Selecting the Ideal Audio Interface
An audio interface is a crucial link between your guitar and your computer. Choose an interface that suits your needs, with enough inputs for your guitar and other instruments. It should also have good preamps for clean recordings.
Connecting Your Guitar and Audio Interface
Connect your guitar to the audio interface using an appropriate cable. Ensure that the interface is properly connected to your computer via USB or other relevant connections.
Configuring Ableton for Guitar Recording
Setting Up Audio Preferences
In Ableton, configure your audio preferences. Select the audio interface as the input and output device. Adjust the sample rate and buffer size to optimize performance.
Creating a New Audio Track
Create a new audio track in Ableton for your guitar. This track will be the canvas for your recording. Make sure to arm the track for recording.
Choosing Amps and Effects
Amp Simulators and Plugins
Ableton offers a variety of amp simulators and effects plugins. Experiment with different virtual amps and stompbox effects to shape your guitar’s tone. Customizing your sound is a key part of the recording process.
Adding Effects and Pedals
Enhance your guitar’s sound further by adding effects and pedals within Ableton. This allows you to sculpt your tone with precision, from subtle reverb to wild distortion.
Recording Your Guitar
Adjusting Input Levels
Set the input levels on your audio interface to ensure a strong, clean signal. Avoid clipping by monitoring the input meters in Ableton.
Using Monitoring Options
Ableton offers various monitoring options, including direct monitoring from the interface and software monitoring within the DAW. Choose the option that suits your workflow and needs.
Recording Multiple Takes
Don’t be afraid to record multiple takes to capture the perfect performance. You can comp together the best parts later during the editing process.
Editing and Enhancing Your Guitar Tracks
Trimming and Cutting
Edit your recorded guitar tracks by trimming unnecessary parts and cutting out mistakes. Ableton’s editing tools make it easy to refine your performance.
Applying Equalization (EQ)
Use EQ to sculpt the guitar’s frequency response. Remove unwanted frequencies and enhance the presence of your guitar in the mix.
Adding Reverb and Delay
Experiment with reverb and delay to create depth and ambience in your guitar recordings. These effects can make your guitar sound larger than life.
Layering Guitars for Depth
Creating Harmonies
Layering multiple guitar tracks with harmonies can add richness and complexity to your recordings. Experiment with different chord inversions and voicings.
Doubling for Richness
Doubling your guitar part by recording it again can create a fuller sound. Slightly detune one of the tracks or pan them left and right for a wider stereo image.
Mixing Your Guitar Tracks
Balancing Levels
During the mixing phase, balance your guitar tracks with other instruments in your project. Ensure that the guitar sits well in the mix without overpowering other elements.
Panning and Stereo Imaging
Experiment with panning to position your guitar tracks in the stereo field. Panning can create a sense of space and separation in your mix.
Using Automation for Expression
Use automation to add expression to your guitar tracks. Automate parameters like volume, panning, and effects to create dynamic shifts in your music.
Exporting Your Guitar Tracks
Choosing File Formats
When exporting your guitar tracks, choose appropriate file formats, such as WAV or AIFF, for high-quality audio. Consider exporting both dry and processed versions for flexibility.
Setting Export Options
Set export options, including bit depth and sample rate, to match your project’s requirements. Ensure that the exported tracks are ready for mixing or sharing.
Common Guitar Recording Issues and Solutions
Dealing with Latency
Latency can be a challenge when recording guitar in a digital environment. Adjust buffer settings and use low-latency monitoring to minimize this issue.
Eliminating Background Noise
Background noise can creep into your recordings. Use noise reduction plugins or techniques to clean up your guitar tracks.
Tips for Guitar Recording in Ableton
Experimenting with Amps and Effects
Don’t be afraid to experiment with different amp models and effects to discover unique tones that suit your music.
Recording Techniques for Different Genres
Adapt your recording techniques to the genre you’re working on. Clean tones work well for jazz, while heavy distortion may be ideal for rock.
Collaborating with Other Musicians
Sharing Ableton Projects
If collaborating with others, share your Ableton projects to seamlessly integrate live guitar into your music. Collaborative creativity can lead to exciting results.
Incorporating Live Guitar in Band Settings
For live performances, consider how to incorporate live guitar effectively into a band setup. Practice and coordination are key for a cohesive live sound.
Conclusion
Recording guitar on Ableton is an exciting journey that allows you to capture your unique musical voice. With the right setup, techniques, and creative experimentation, you can produce stunning guitar tracks that elevate your music to new heights.
Frequently Asked Questions
- Do I need a high-end audio interface for recording guitar on Ableton?While a high-quality audio interface is beneficial, there are many affordable options that provide excellent results for guitar recording in Ableton. Choose one that suits your budget and needs.
- Can I use Ableton’s built-in amp and effects plugins for guitar recording?Yes, Ableton’s native amp simulators and effects plugins are versatile and capable of producing great guitar tones. Experiment with them before considering third-party plugins.
- What are some creative ways to use effects in guitar recording on Ableton?Effects like delay, reverb, and modulation can be creatively used to add depth, atmosphere, and character to your guitar recordings. Experiment with different settings and automation to achieve unique sounds.
- How can I reduce background noise in my guitar recordings?To reduce background noise, make sure you’re recording in a quiet environment. Additionally, use noise reduction plugins or techniques during the editing process to clean up your recordings.
- Is it possible to record both electric and acoustic guitar in Ableton simultaneously?Yes, you can record both electric and acoustic guitar simultaneously in Ableton by connecting them to separate audio inputs on your audio interface and creating multiple audio tracks for recording.

