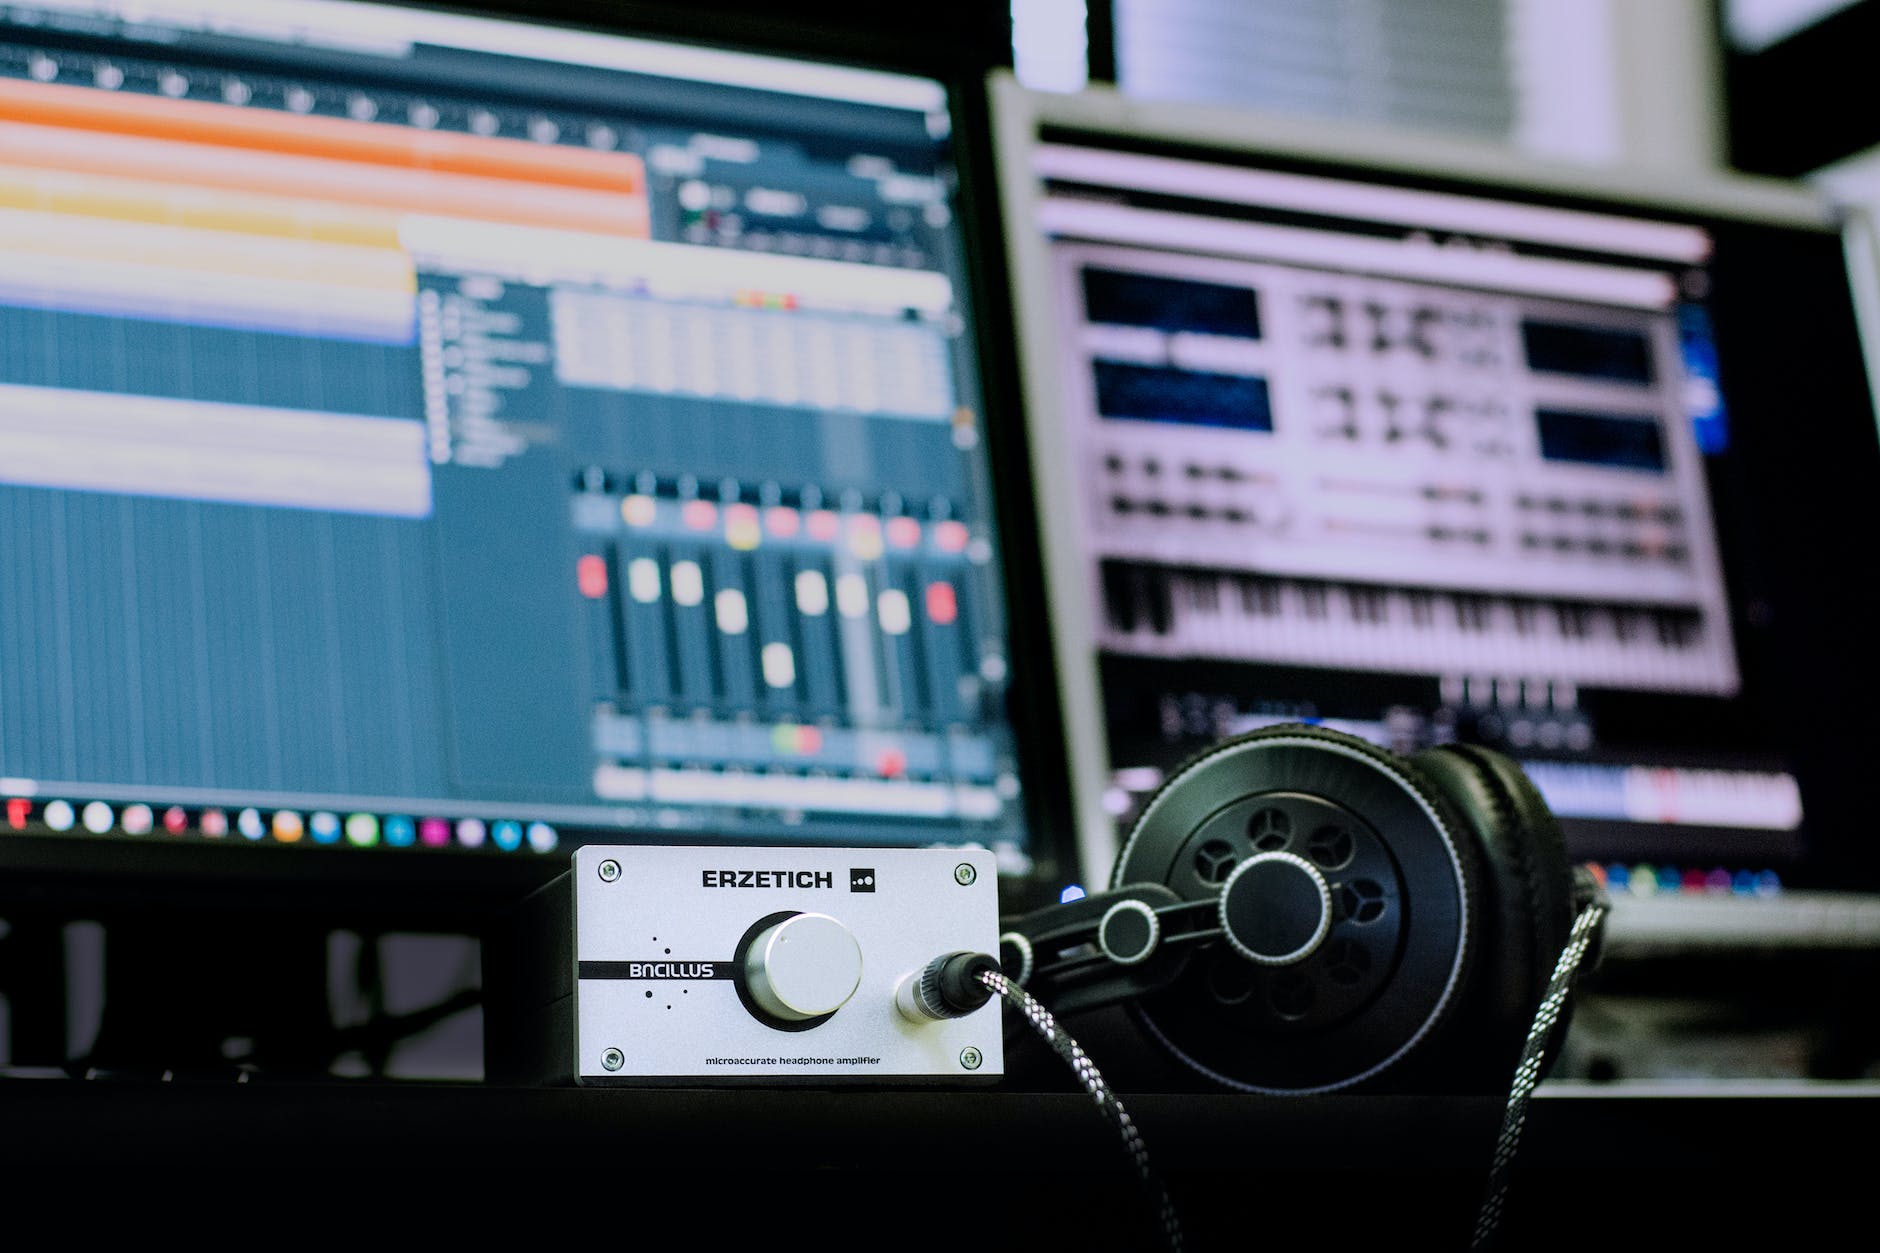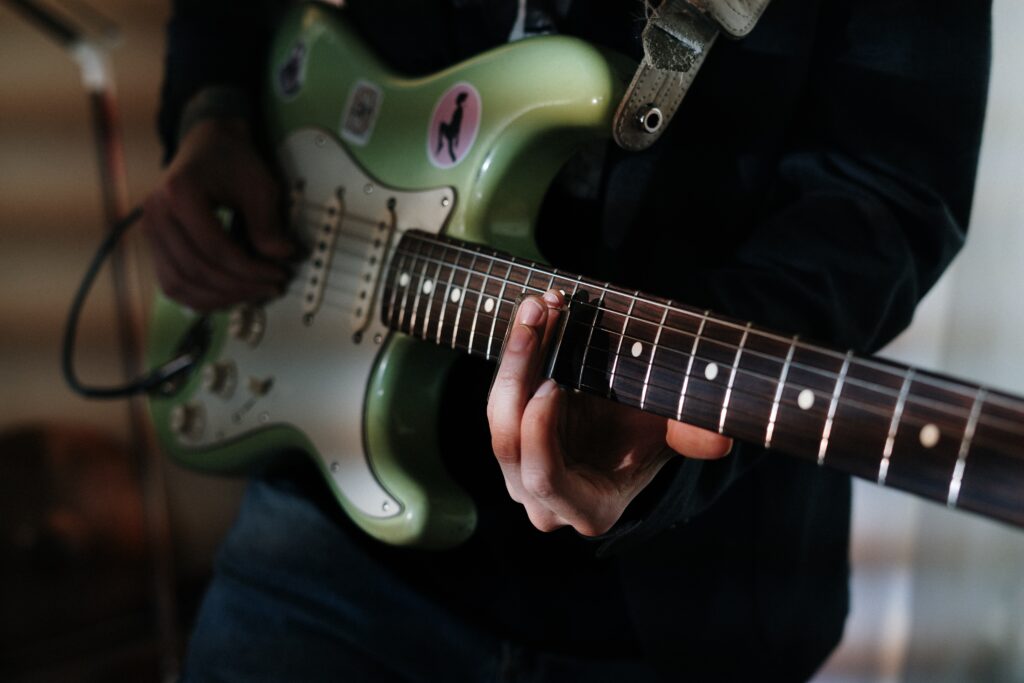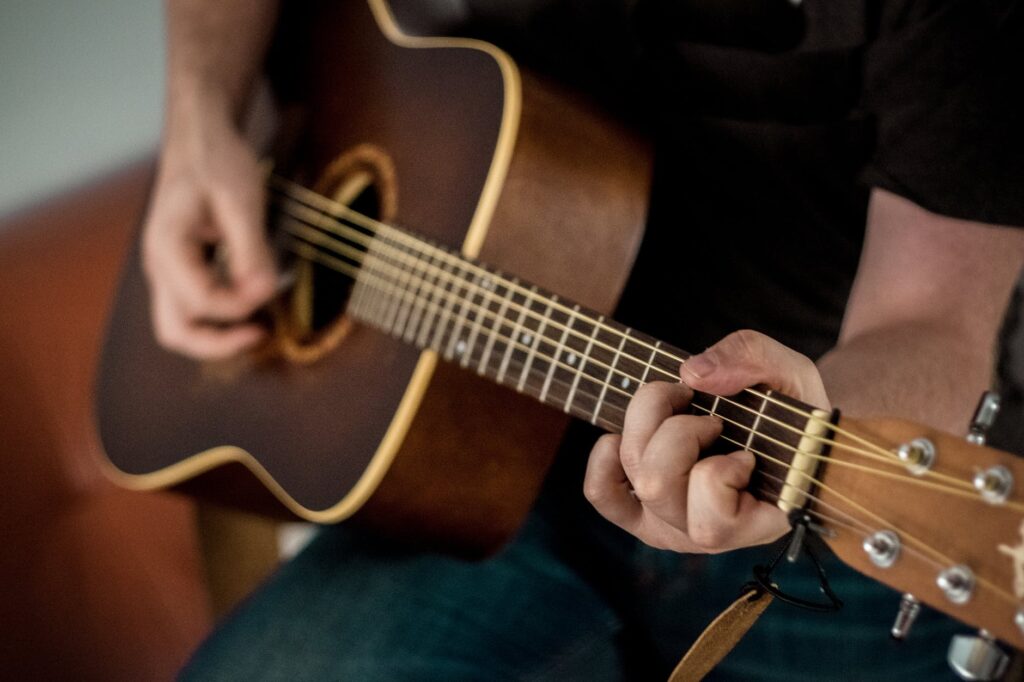
Recording guitar in FL Studio can be a transformative experience for both amateur musicians and seasoned professionals. FL Studio, with its powerful features and user-friendly interface, offers a versatile platform for capturing the raw essence of your guitar performance. Whether you’re a budding guitarist or a seasoned player looking to enhance your recording skills, this comprehensive step-by-step guide will walk you through the process of recording guitar in FL Studio, from setting up your equipment to polishing your tracks.
1. Preparing Your Equipment
- Selecting the Right Guitar: Choose a guitar that suits the sound you want to achieve. Consider factors like tonal characteristics, playing style, and the genre you’re recording. Learn more about different types of guitar!
- Connecting the Guitar to Your Audio Interface: Connect your guitar to an audio interface using a high-quality instrument cable. Ensure that the interface is connected to your computer via USB or FireWire.
- Positioning Microphones: To capture the sound of your guitar amplifier, position a microphone in front of the speaker cabinet. Experiment with different mic placements to find the sweet spot for your desired tone.
- Using Direct Recording: Alternatively, you can record your guitar directly into FL Studio using a guitar interface or a direct input (DI) box. This method bypasses the need for a microphone and captures a clean, unamplified signal.
2. Configuring FL Studio:
- Selecting the Audio Input: In FL Studio’s settings, choose your audio interface as the input device. Ensure that the correct input channel is selected to receive the guitar signal.
- Adjusting Buffer Sizes and Sample Rates: Configure the buffer size and sample rate settings in FL Studio’s audio settings to achieve optimal latency and audio quality. Lower buffer sizes reduce latency but require more processing power.
- Enhancing Your Sound with Plugins and Virtual Instruments: FL Studio offers a wide range of plugins and virtual instruments to enhance your guitar recordings. Experiment with amp simulators, effects plugins, and virtual stompboxes to shape your guitar’s tone.
3. Setting Up Recording Channels:
- Creating Audio Tracks: Create separate audio tracks in FL Studio to record different guitar parts. This allows you to capture rhythm, lead, and additional layers individually.
- Applying Effects and Signal Processing: Apply effects such as EQ, compression, and reverb to each audio track to shape the tone during the recording stage. Experiment with different settings to achieve the desired sound.
4. Recording Techniques:
- Mic Placement Techniques: Experiment with various microphone positions to find the best placement for capturing the sound of your guitar amplifier. Position the microphone closer to the speaker cone for a brighter tone and further away for a more ambient sound.
- Choosing the Right Guitar Pick: Select a guitar pick that suits your playing style and the sound you want to achieve. Different pick materials and thicknesses can significantly impact the tone and attack of your guitar recordings.
- Managing Gain Levels: Ensure that the gain levels are set appropriately to avoid distortion or clipping. Monitor the input levels in FL Studio’s mixer to maintain a balanced and clean recording.
- Using the Metronome: Enable FL Studio’s metronome during recording to maintain a steady tempo. This is particularly useful when recording multiple guitar parts or playing along with other tracks.
- Recording MIDI Guitar Performances: FL Studio also supports MIDI recording, allowing you to capture guitar performances using MIDI controllers or specialized MIDI guitars. This provides flexibility in editing and manipulating the recorded performance.
Optimizing Audio Performance with ASIO4ALL:
To take your guitar recording experience in FL Studio to the next level, it’s essential to address audio latency and ensure that your audio interface is running smoothly. One powerful tool that can help achieve this is ASIO4ALL.
What is ASIO4ALL?
ASIO (Audio Stream Input/Output) is a low-latency audio driver protocol designed for professional audio applications. FL Studio typically uses ASIO drivers for audio interfaces to minimize latency, but not all audio interfaces come with dedicated ASIO drivers. This is where ASIO4ALL comes into play.
ASIO4ALL is a free, third-party audio driver that acts as a universal ASIO driver for a wide range of audio hardware. It allows you to take advantage of ASIO’s low-latency benefits, even if your audio interface doesn’t have native ASIO drivers. Here’s how to set it up:
Configuring ASIO4ALL in FL Studio:
- Download and Install: Visit the ASIO4ALL website and download the latest version. Install it on your computer.
- Launch FL Studio: Open FL Studio and go to the Options menu.
- Audio Settings: Under the “Audio” settings, select “ASIO” as the driver type.
- Select ASIO4ALL: In the ASIO panel, choose ASIO4ALL as your ASIO driver.
- Configure ASIO4ALL: Click on the ASIO panel’s settings icon to configure ASIO4ALL. Here, you can select your audio interface and adjust buffer sizes. Smaller buffer sizes reduce latency but may require more processing power from your computer.
- Test Latency: FL Studio provides a built-in latency test feature. Use it to fine-tune your buffer size until you achieve the lowest possible latency without audio glitches or dropouts.
Benefits of ASIO4ALL:
By using ASIO4ALL, you’ll experience several benefits when recording your guitar in FL Studio:
- Reduced Latency: ASIO4ALL significantly reduces audio latency, allowing for real-time monitoring and recording without noticeable delays.
- Improved Audio Quality: The low-latency performance of ASIO4ALL ensures that your guitar recordings are crisp and accurate.
- Compatibility: ASIO4ALL works with a wide range of audio interfaces, making it a versatile solution for any setup.
- Stability: It enhances the overall stability of FL Studio, reducing the chances of audio dropouts or glitches during recording sessions.
Incorporating ASIO4ALL into your FL Studio setup can be a game-changer for your guitar recording sessions, as it provides a seamless and responsive audio environment. Whether you’re a beginner or an experienced guitarist, optimizing your audio performance with ASIO4ALL will help you capture your best performances with precision and clarity.
Editing and Mixing:
a. Editing Techniques: Use FL Studio’s editing tools to refine your guitar recordings. Quantize the timing for precise alignment, comp multiple takes to create the perfect performance, and utilize time-stretching to adjust the length of recorded audio.
b. Mixing Techniques: Balance the levels of your guitar tracks using volume automation and panning. Apply EQ to shape the frequency response, compression to control dynamics, and reverb to add depth and space to the mix.
- Finalizing and Exporting:
a. Exporting Your Tracks: Once you are satisfied with your guitar recordings and the overall mix, it’s time to export your tracks. Choose the appropriate file format (such as WAV or MP3), select the desired bit depth and sample rate, and apply dithering if necessary.
b. Saving Project Files: Save your FL Studio project files regularly to preserve your work and allow for future edits or revisions.
Conclusion:
Recording guitar in FL Studio offers endless possibilities for musicians and producers. By following this detailed step-by-step guide, you’ll gain the necessary skills to capture your guitar performances with exceptional clarity and fidelity. Remember to experiment, practice, and let your creativity shine as you embark on your journey to master the art of recording guitar in FL Studio.

